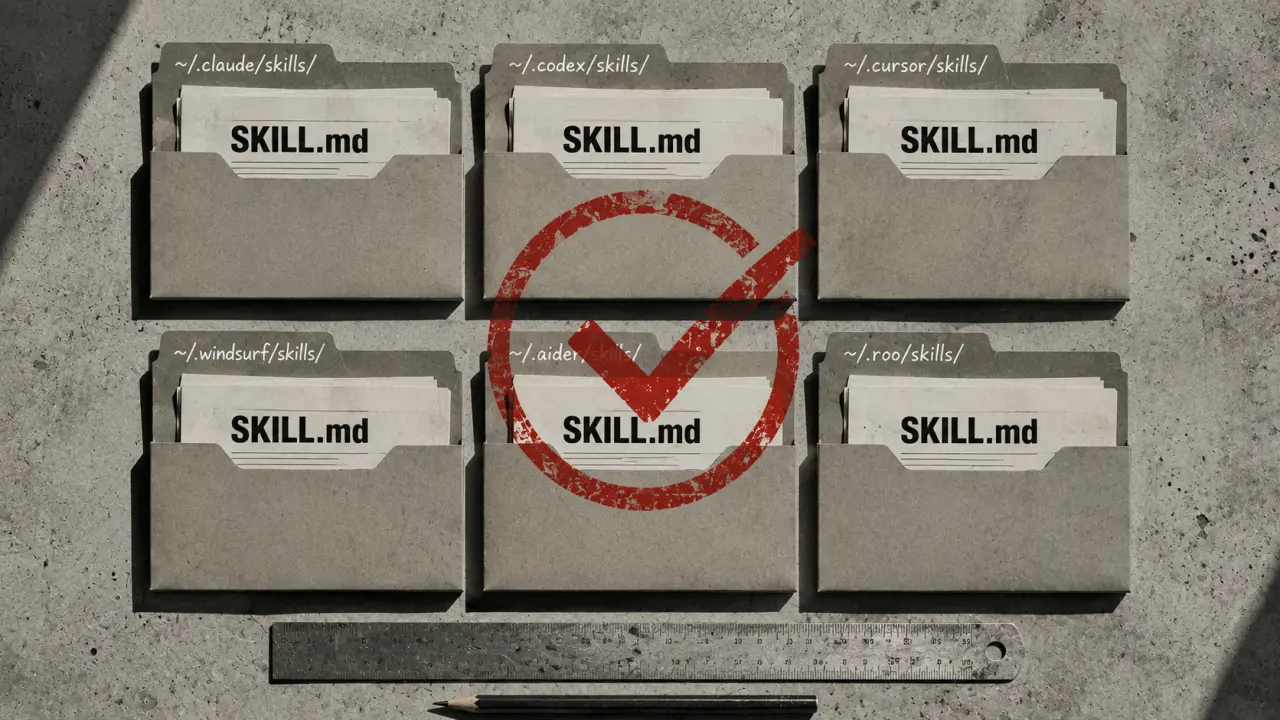
Gemini CLI supports SKILL.md skills for customizing its behavior. If you've already used skills with Claude Code or Codex CLI, the process is familiar — drop SKILL.md files into the right directory and Gemini CLI picks them up automatically.
Quick Answer
To install skills in Gemini CLI, place SKILL.md files (and any supporting files) into either the project-specific .gemini/skills/ directory or the global ~/.gemini/skills/ directory in your home folder. You can download skills from Agensi, clone them from GitHub, or create them manually.Where Gemini CLI Looks for Skills
Gemini CLI checks two locations for skills: Project skills in .gemini/skills/ at your project root and global skills in ~/.gemini/skills/ in your home directory. Project skills activate only when you're working within that specific project, which is ideal for framework-specific conventions, team standards, or project-specific patterns. Global skills apply to every project you work on, making them perfect for personal coding preferences, language-specific patterns, or tools you use universally.Step-by-Step Guide to Installing Skills
1. Identify the Skill: First, find the SKILL.md file you want to install. This might come from Agensi's skill marketplace, a GitHub repository, or your own creation. 2. Choose Installation Scope: Decide whether the skill is project-specific or global. If it's for a single project, use the .gemini/skills/ folder inside that project. For skills you want everywhere, use the ~/.gemini/skills/ directory. 3. Copy the Skill Files: Place the SKILL.md file and any accompanying assets (scripts, configs) into the chosen directory. 4. Restart Gemini CLI: To ensure Gemini CLI loads the new skills, restart your terminal session or reload Gemini CLI. 5. Verify Installation: Run `gemini skills list` to see the active skills and confirm your new skill is listed.Practical Example: Installing a Python Formatting Skill
Suppose you want to install a Python formatting skill that enforces PEP 8 style guidelines in your current project. Here's how you can do it:1. Download the SKILL.md file from a trusted repository or marketplace. 2. Navigate to your project root. 3. Create the directory if it doesn't exist: `mkdir -p .gemini/skills/` 4. Copy the SKILL.md file into `.gemini/skills/`. 5. Restart Gemini CLI to load the skill.
Now, when you use Gemini CLI in this project, it will apply the Python formatting skill automatically.
Tips for Managing Skills Effectively
- Keep your global skills minimal to avoid conflicts and bloat. Use project skills for specialized needs. - Use version control for project skills by including the .gemini/skills/ directory in your git repository. This ensures your team uses consistent skills. - Regularly update your skills from trusted sources to benefit from improvements and bug fixes. - Test new skills in a sandbox project before applying them to critical projects. - Document any custom skills you create so your team can understand and maintain them.Cross-Agent Compatibility: Claude Code, Codex CLI, and Gemini CLI
One of Gemini CLI’s strengths is its compatibility with skills created for Claude Code and Codex CLI. If you have existing SKILL.md files from these tools, you can reuse them with Gemini CLI without modification. This allows for a seamless transition or parallel use of multiple AI coding assistants.For example, if your team uses Codex CLI with a set of JavaScript skills, you can drop the same SKILL.md files into Gemini CLI’s skills directories. Gemini will recognize and activate those skills, preserving your workflow and standards across different tools.
Real-World Use Case: Team Collaboration with Project Skills
Imagine a development team working on a React project. They want to enforce specific coding conventions and patterns that are unique to their codebase. Rather than relying on individual developer setups, they create a set of SKILL.md files tailored to their standards and place them in the project’s .gemini/skills/ directory.Since this directory is checked into version control, every team member automatically uses the same skills when running Gemini CLI in the project. This ensures consistency, reduces code review friction, and speeds up onboarding for new team members.
Creating Your Own Custom Skill
If you want to create a custom skill, start by writing a SKILL.md file that defines the triggers, prompts, and expected behaviors. Use Markdown formatting to organize the content clearly.Steps to create and install your own skill:
1. Draft your SKILL.md with clear instructions and examples. 2. Test it locally by placing it in a project’s .gemini/skills/ folder. 3. Iterate based on Gemini CLI’s responses and feedback. 4. Share with your team or publish it on Agensi for others to use.
Custom skills empower you to tailor Gemini CLI to your unique development needs, automating repetitive tasks and enforcing best practices.
Troubleshooting Common Issues
- If a skill isn’t activating, check that the SKILL.md file is correctly named and placed in the right directory. - Ensure Gemini CLI is restarted after adding new skills. - Verify file permissions to make sure Gemini CLI can read the skill files. - Look for syntax errors or formatting issues inside SKILL.md that might prevent parsing. - Use `gemini skills list` to confirm which skills are active and debug accordingly.Conclusion
Installing skills in Gemini CLI is straightforward and flexible, allowing you to customize your coding environment with ease. Whether you’re reusing skills from Claude Code and Codex CLI or creating your own, understanding where to place SKILL.md files and how to manage them will help you get the most out of Gemini CLI. Use project skills for team alignment and global skills for personal preferences, and don’t forget to leverage the power of cross-agent compatibility for a unified AI-assisted development experience.Frequently Asked Questions
Are these prompts free? Yes — all PromptSpace prompts are free to copy and use. Browse our ChatGPT Prompts library for hundreds more.Do these work on the free tier? Most work on free tiers. Complex prompts may perform better on paid versions (ChatGPT Plus, Claude Pro) with larger context windows.
How do I get better AI results? Be specific: include your role, desired format, target audience, and any constraints. More context always improves output.
Can I modify these prompts for my use case? Absolutely — treat every prompt as a starting template. Customize the role, topic, tone, and format to match your needs.