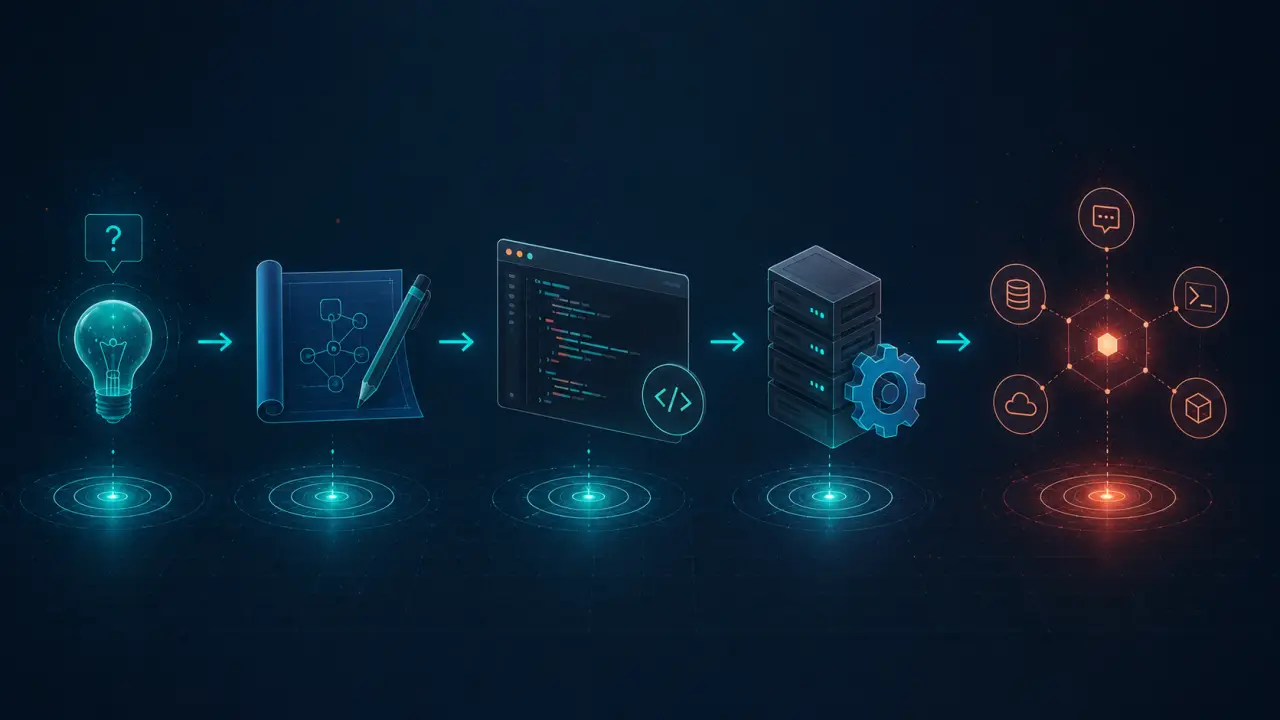
If the existing MCP servers don't cover your use case, building your own MCP server in TypeScript can be a rewarding and practical solution. MCP servers are relatively simple programs designed to expose tools through a standardized protocol, enabling any compatible AI agent to use them. This tutorial will guide you step-by-step through creating an MCP server from scratch, covering project setup, tool registration, transport configuration, testing, and deployment. By the end, you'll have a working server ready to integrate with your AI agents.
What You're Building
An MCP (Modular Communication Protocol) server is a program that acts as a bridge between AI agents and the tools they can use. At its core, your server will perform three main functions: connect to an AI agent via a transport mechanism (like stdio for local connections or HTTP for remote), respond to `tools/list` requests by providing a list of available tools, and handle `tools/call` requests by executing the requested tool and returning the results. This simple loop forms the backbone of your server, while the real power lies in the custom tool logic you implement.Why Build Your Own MCP Server?
While there are existing MCP servers available, they might not fit your specific requirements or the tools you want to expose. By building your own, you gain complete control over the tools, protocols, and integrations. For example, if you want to expose a proprietary API or a custom data source that existing servers don’t support, creating a tailored MCP server is your best bet. Additionally, writing your server in TypeScript offers type safety, great tooling, and easier maintenance, especially if you’re already working within a JavaScript ecosystem.Prerequisites
Before you start, ensure you have the following installed: Node.js (v14 or later), npm or yarn, and a code editor like VS Code. Familiarity with TypeScript basics and npm package management will help, but this tutorial will walk you through all necessary steps. You’ll also need a basic understanding of asynchronous programming in JavaScript/TypeScript, as handling requests will be asynchronous.Step 1: Project Setup
Start by creating a new directory for your MCP server project and initialize it with npm:```bash mkdir my-mcp-server cd my-mcp-server npm init -y ```
Next, install TypeScript and necessary types:
```bash npm install typescript @types/node --save-dev npx tsc --init ```
This creates a `tsconfig.json` file, which you can adjust to target your preferred module system and JavaScript version. For example, set `target` to `ES2020` and `module` to `CommonJS` or `ESNext` depending on your environment.
Step 2: Define Your Tools
Your MCP server will expose tools, such as `get_weather`, `calculate_sum`, or `fetch_user_data`. Let’s start simple — create a `tools.ts` file where you define your tool handlers. Each tool is essentially a function that takes input parameters and returns a result.Example:
```typescript export interface Tool { name: string; description: string; call: (params: any) => Promise
export const tools: Tool[] = [ { name: 'get_weather', description: 'Fetch current weather for a city', call: async (params) => { const city = params.city; // For example purposes, return a dummy response return { temperature: '25°C', city }; }, }, { name: 'calculate_sum', description: 'Calculate the sum of two numbers', call: async (params) => { const sum = (params.a || 0) + (params.b || 0); return { sum }; }, }, ]; ```
This modular approach allows you to add or remove tools easily.
Step 3: Implement the Transport Layer
Your MCP server needs a communication transport to talk with the AI agent. The simplest transport is standard input/output (stdio), perfect for local development and testing. For remote usage, HTTP or WebSockets are common.For this tutorial, we’ll use stdio. Create a `server.ts` file and implement a loop that listens for JSON messages and responds accordingly.
Key points:
1. Read JSON lines from stdin. 2. Parse the JSON request. 3. Identify the request type (`tools/list` or `tools/call`). 4. Respond with the appropriate JSON payload.
Example snippet:
```typescript import { tools } from './tools'; import readline from 'readline';
const rl = readline.createInterface({ input: process.stdin, output: process.stdout });
rl.on('line', async (line) => { try { const message = JSON.parse(line); if (message.method === 'tools/list') { const toolList = tools.map(t => ({ name: t.name, description: t.description })); process.stdout.write(JSON.stringify({ id: message.id, result: toolList }) + '\n'); } else if (message.method === 'tools/call') { const tool = tools.find(t => t.name === message.params.tool_name); if (!tool) { process.stdout.write(JSON.stringify({ id: message.id, error: 'Tool not found' }) + '\n'); return; } const result = await tool.call(message.params.arguments); process.stdout.write(JSON.stringify({ id: message.id, result }) + '\n'); } } catch (e) { process.stdout.write(JSON.stringify({ error: 'Invalid message format' }) + '\n'); } }); ```
This basic server listens for incoming JSON messages line-by-line, parses them, and responds with the results or errors.
Step 4: Testing Your MCP Server Locally
Testing is crucial to ensure your MCP server behaves as expected. You can test locally by simulating AI agent requests using the command line or scripts.For example, use `echo` to send a `tools/list` request:
```bash echo '{"id":1,"method":"tools/list"}' | node dist/server.js ```
You should see a JSON response listing the tools.
To test a tool call:
```bash echo '{"id":2,"method":"tools/call","params":{"tool_name":"calculate_sum","arguments":{"a":5,"b":7}}}' | node dist/server.js ```
The response should be:
```json {"id":2,"result":{"sum":12}} ```
Tips:
- Use a JSON formatter or tools like `jq` to pretty-print responses. - Write automated tests using Jest or Mocha to cover your tool logic and transport layer.
Step 5: Adding More Complex Tools
Once you have the basic server working, you can add more sophisticated tools that connect to external APIs or perform complex computations.Example: A weather tool that fetches real data.
1. Sign up for a weather API like OpenWeatherMap. 2. Use `node-fetch` or `axios` to call the API. 3. Update your `get_weather` tool to fetch real-time data.
```typescript import fetch from 'node-fetch';
export const tools: Tool[] = [ { name: 'get_weather', description: 'Fetch current weather for a city', call: async (params) => { const city = params.city; const apiKey = process.env.OPENWEATHER_API_KEY; const response = await fetch(`https://api.openweathermap.org/data/2.5/weather?q=${city}&appid=${apiKey}&units=metric`); const data = await response.json(); return { temperature: data.main.temp + '°C', city }; }, }, // ... other tools ]; ```
Remember to add your API key to environment variables and handle errors gracefully.
Step 6: Deployment Options
After your MCP server is tested and ready, consider how you want to deploy it:1. Local deployment: Run the server on your machine or a local server, connecting AI agents directly. 2. Cloud deployment: Host your server on platforms like Heroku, AWS, or DigitalOcean. For stdio transports, you may need to switch to HTTP or WebSocket for network compatibility. 3. Docker container: Containerize your MCP server for easy distribution and scalability.
Example Dockerfile snippet:
```dockerfile FROM node:16 WORKDIR /app COPY package*.json ./ RUN npm install COPY . . RUN npm run build CMD ["node", "dist/server.js"] ```
Deploying via Docker ensures consistent environments and easy scaling.
Real-World Use Cases
Building your own MCP server opens many possibilities:- Custom AI Toolkits: Expose internal business systems as tools for AI agents to automate workflows. - IoT Device Control: Create tools to interact with smart home devices or industrial sensors. - Data Analysis: Provide tools that perform domain-specific calculations or data retrieval. - Education: Build interactive learning tools that AI agents can invoke during tutoring sessions.
For instance, a logistics company could build an MCP server exposing package tracking and route optimization tools, empowering an AI assistant to help customer support agents with real-time data.
Tips for Success
1. Use Types and Interfaces: TypeScript shines when you define clear types for your tool inputs and outputs. 2. Validate Inputs: Always validate and sanitize input parameters to avoid runtime errors. 3. Modularize Tools: Keep each tool in separate files or modules for easier maintenance. 4. Logging: Add logging for requests and responses to help with debugging. 5. Error Handling: Return informative error messages to the AI agent to aid in troubleshooting. 6. Security: If exposing your server over a network, secure it with authentication and encryption.Following these best practices will help you build robust and maintainable MCP servers.
Conclusion
Building your own MCP server in TypeScript is a manageable and rewarding project that gives you full control over the tools your AI agents can use. By following this tutorial, you set up a project, define tools, implement a communication transport, test thoroughly, and prepare for deployment. Whether you want to expose simple utilities or complex business logic, your custom MCP server will serve as a powerful bridge between AI and your unique toolset. Happy coding!Frequently Asked Questions
Is the content on this page free to use? Yes — all resources on PromptSpace are completely free. Try our free AI image generator or browse 4,000+ AI prompts at no cost.How do I get started with AI tools? Start with a clear goal and specific prompts. The more detail you provide — audience, format, tone, constraints — the better the AI output.
Can I use AI outputs commercially? On paid tiers of major platforms, yes. Always verify the specific tool's terms of service for your use case.
Where can I find more AI resources? PromptSpace has 4,000+ free AI prompts and 150+ free tools — browse the library or try the AI image generator.